MEASURING NECK WALL THICKNESS
Tips and tricks
Matt Findlay - 27/04/2017
Copyright AMP ANNEALING 2017
The neck wall thickness of cartridge brass plays a major role in determining the correct annealing setting for your cartridge. Our research shows that reducing the wall thickness by just 0.001" can change the required program setting on our induction annealer by anywhere between three and six programs depending on the cartridge.
Being able to accurately measure the
neck wall thickness is therefore vital in establishing what program to use when
annealing. It directly effects the amount of energy required to anneal the
cartridge. In this article we will cover three measuring tools commonly used to
measure cartridge wall thickness and why we strongly recommend the use of
a tube micrometer with a ball anvil above anything else.
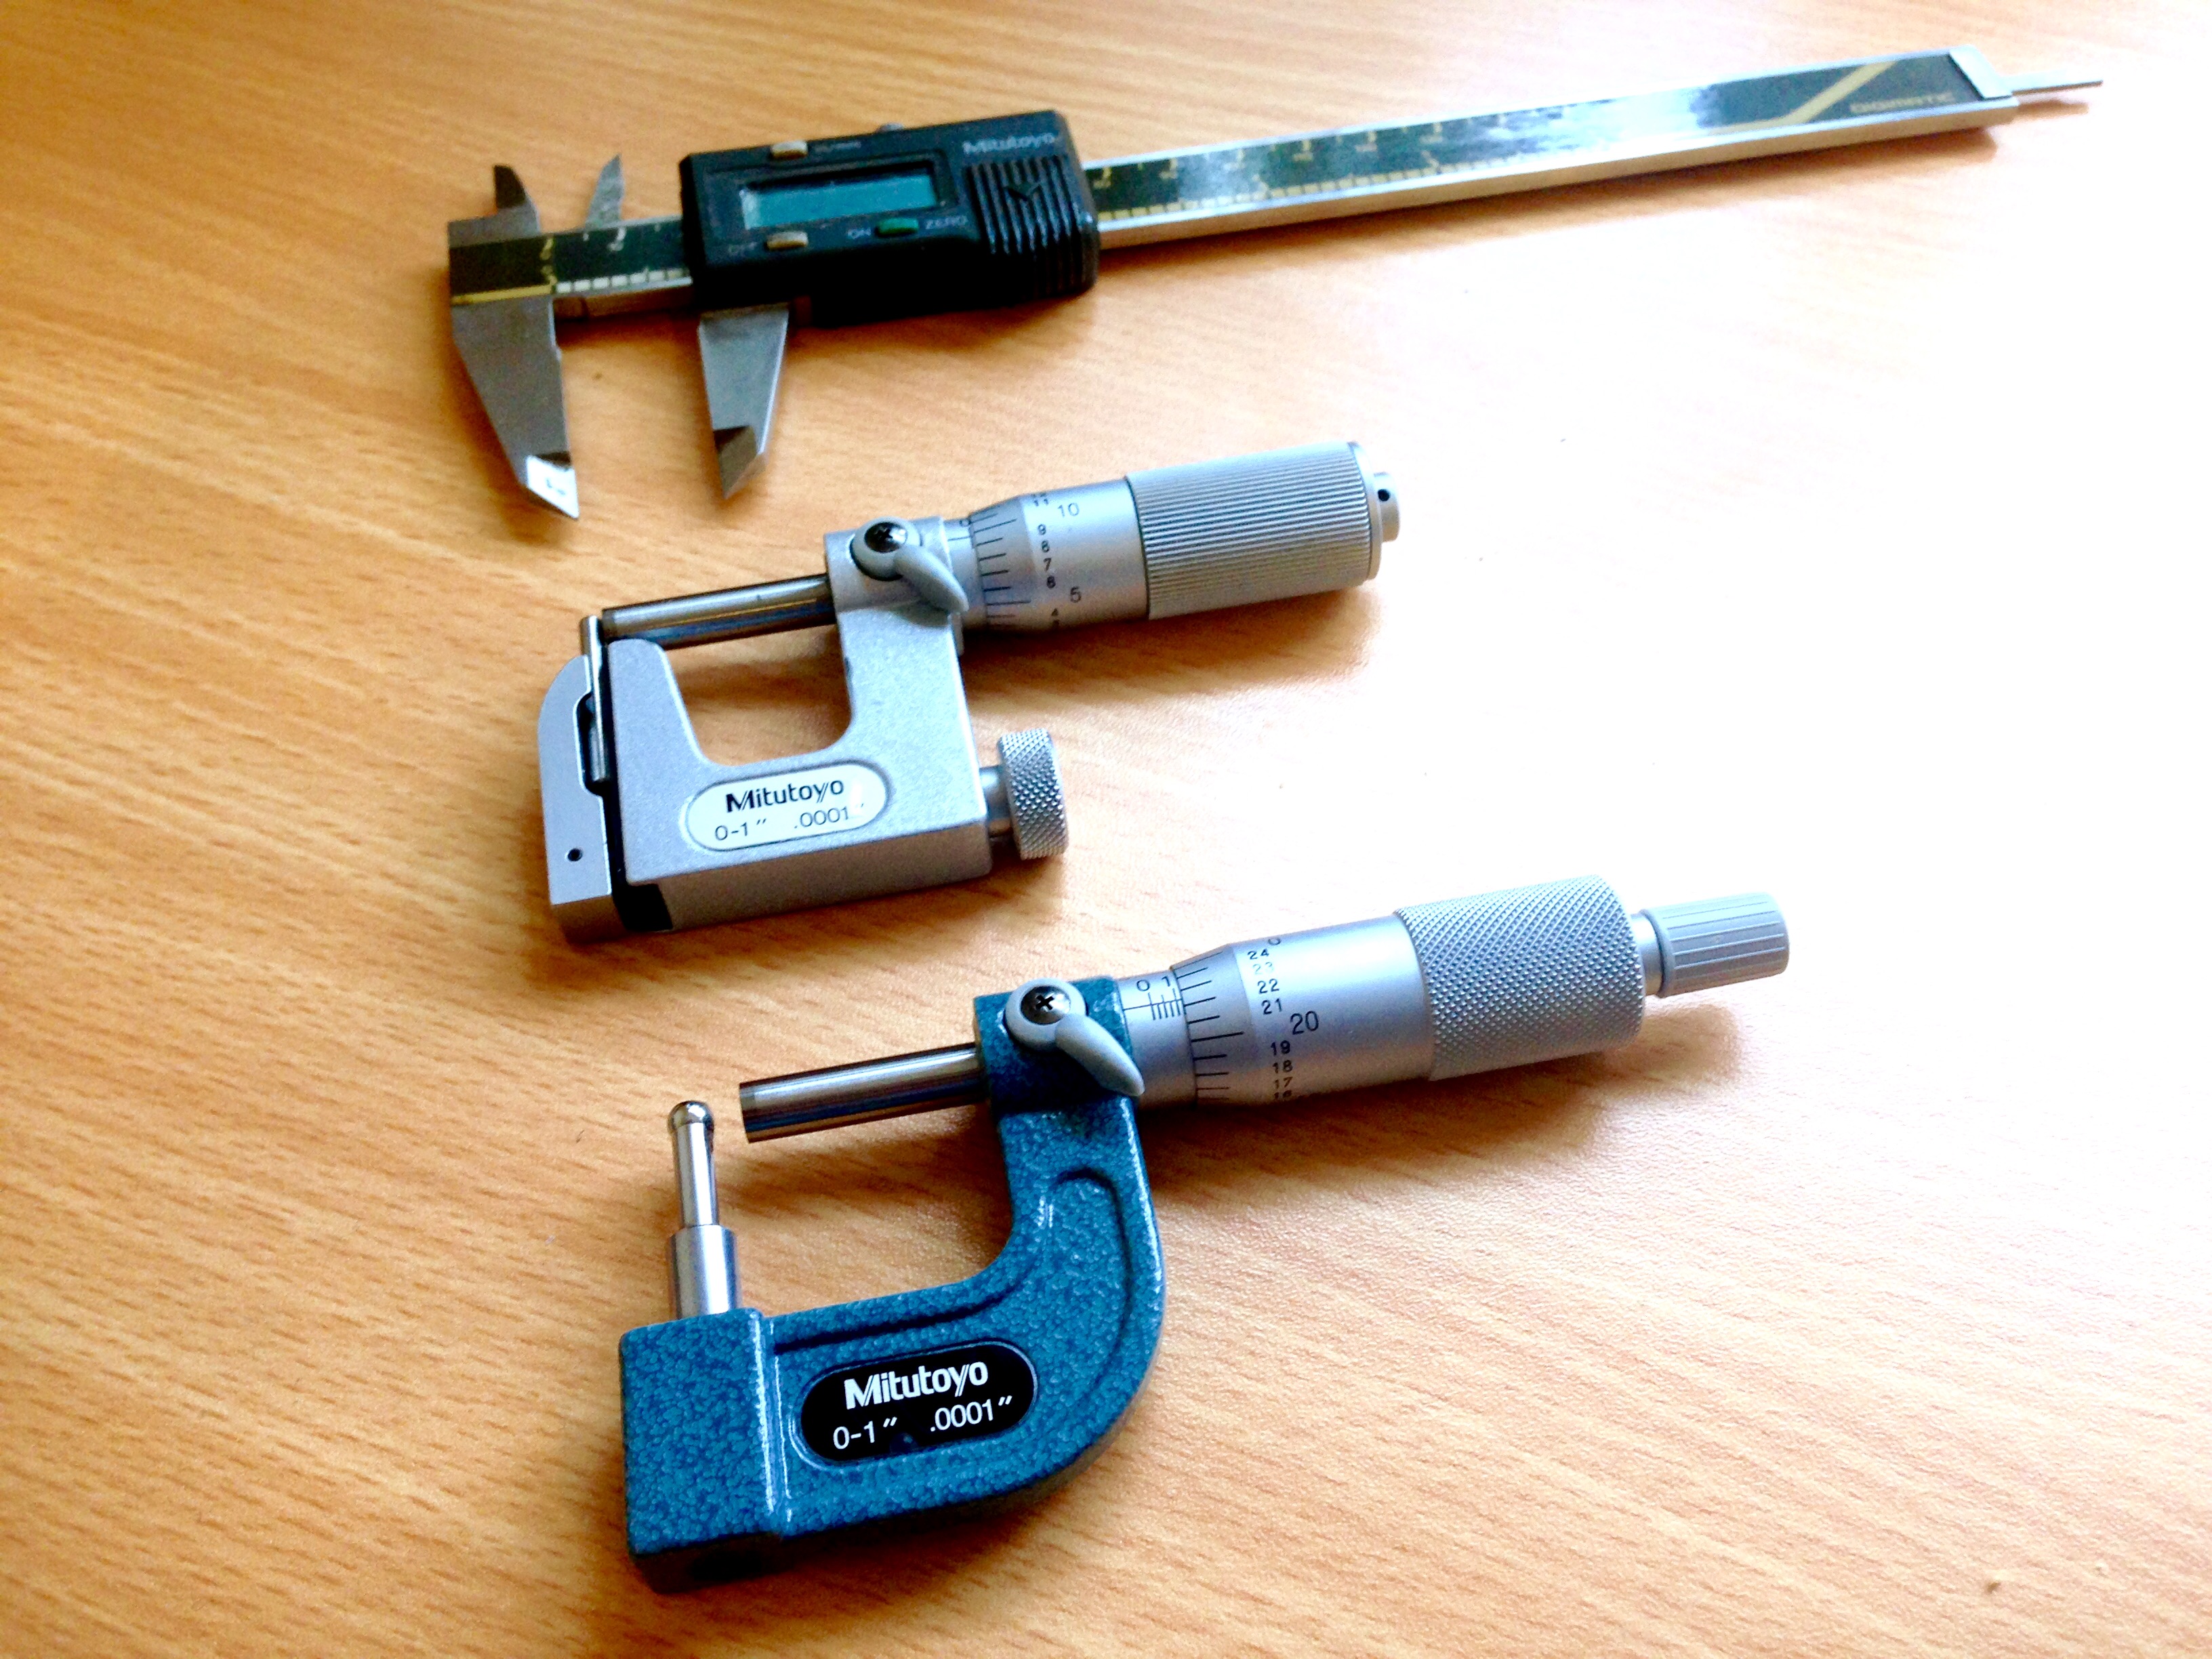
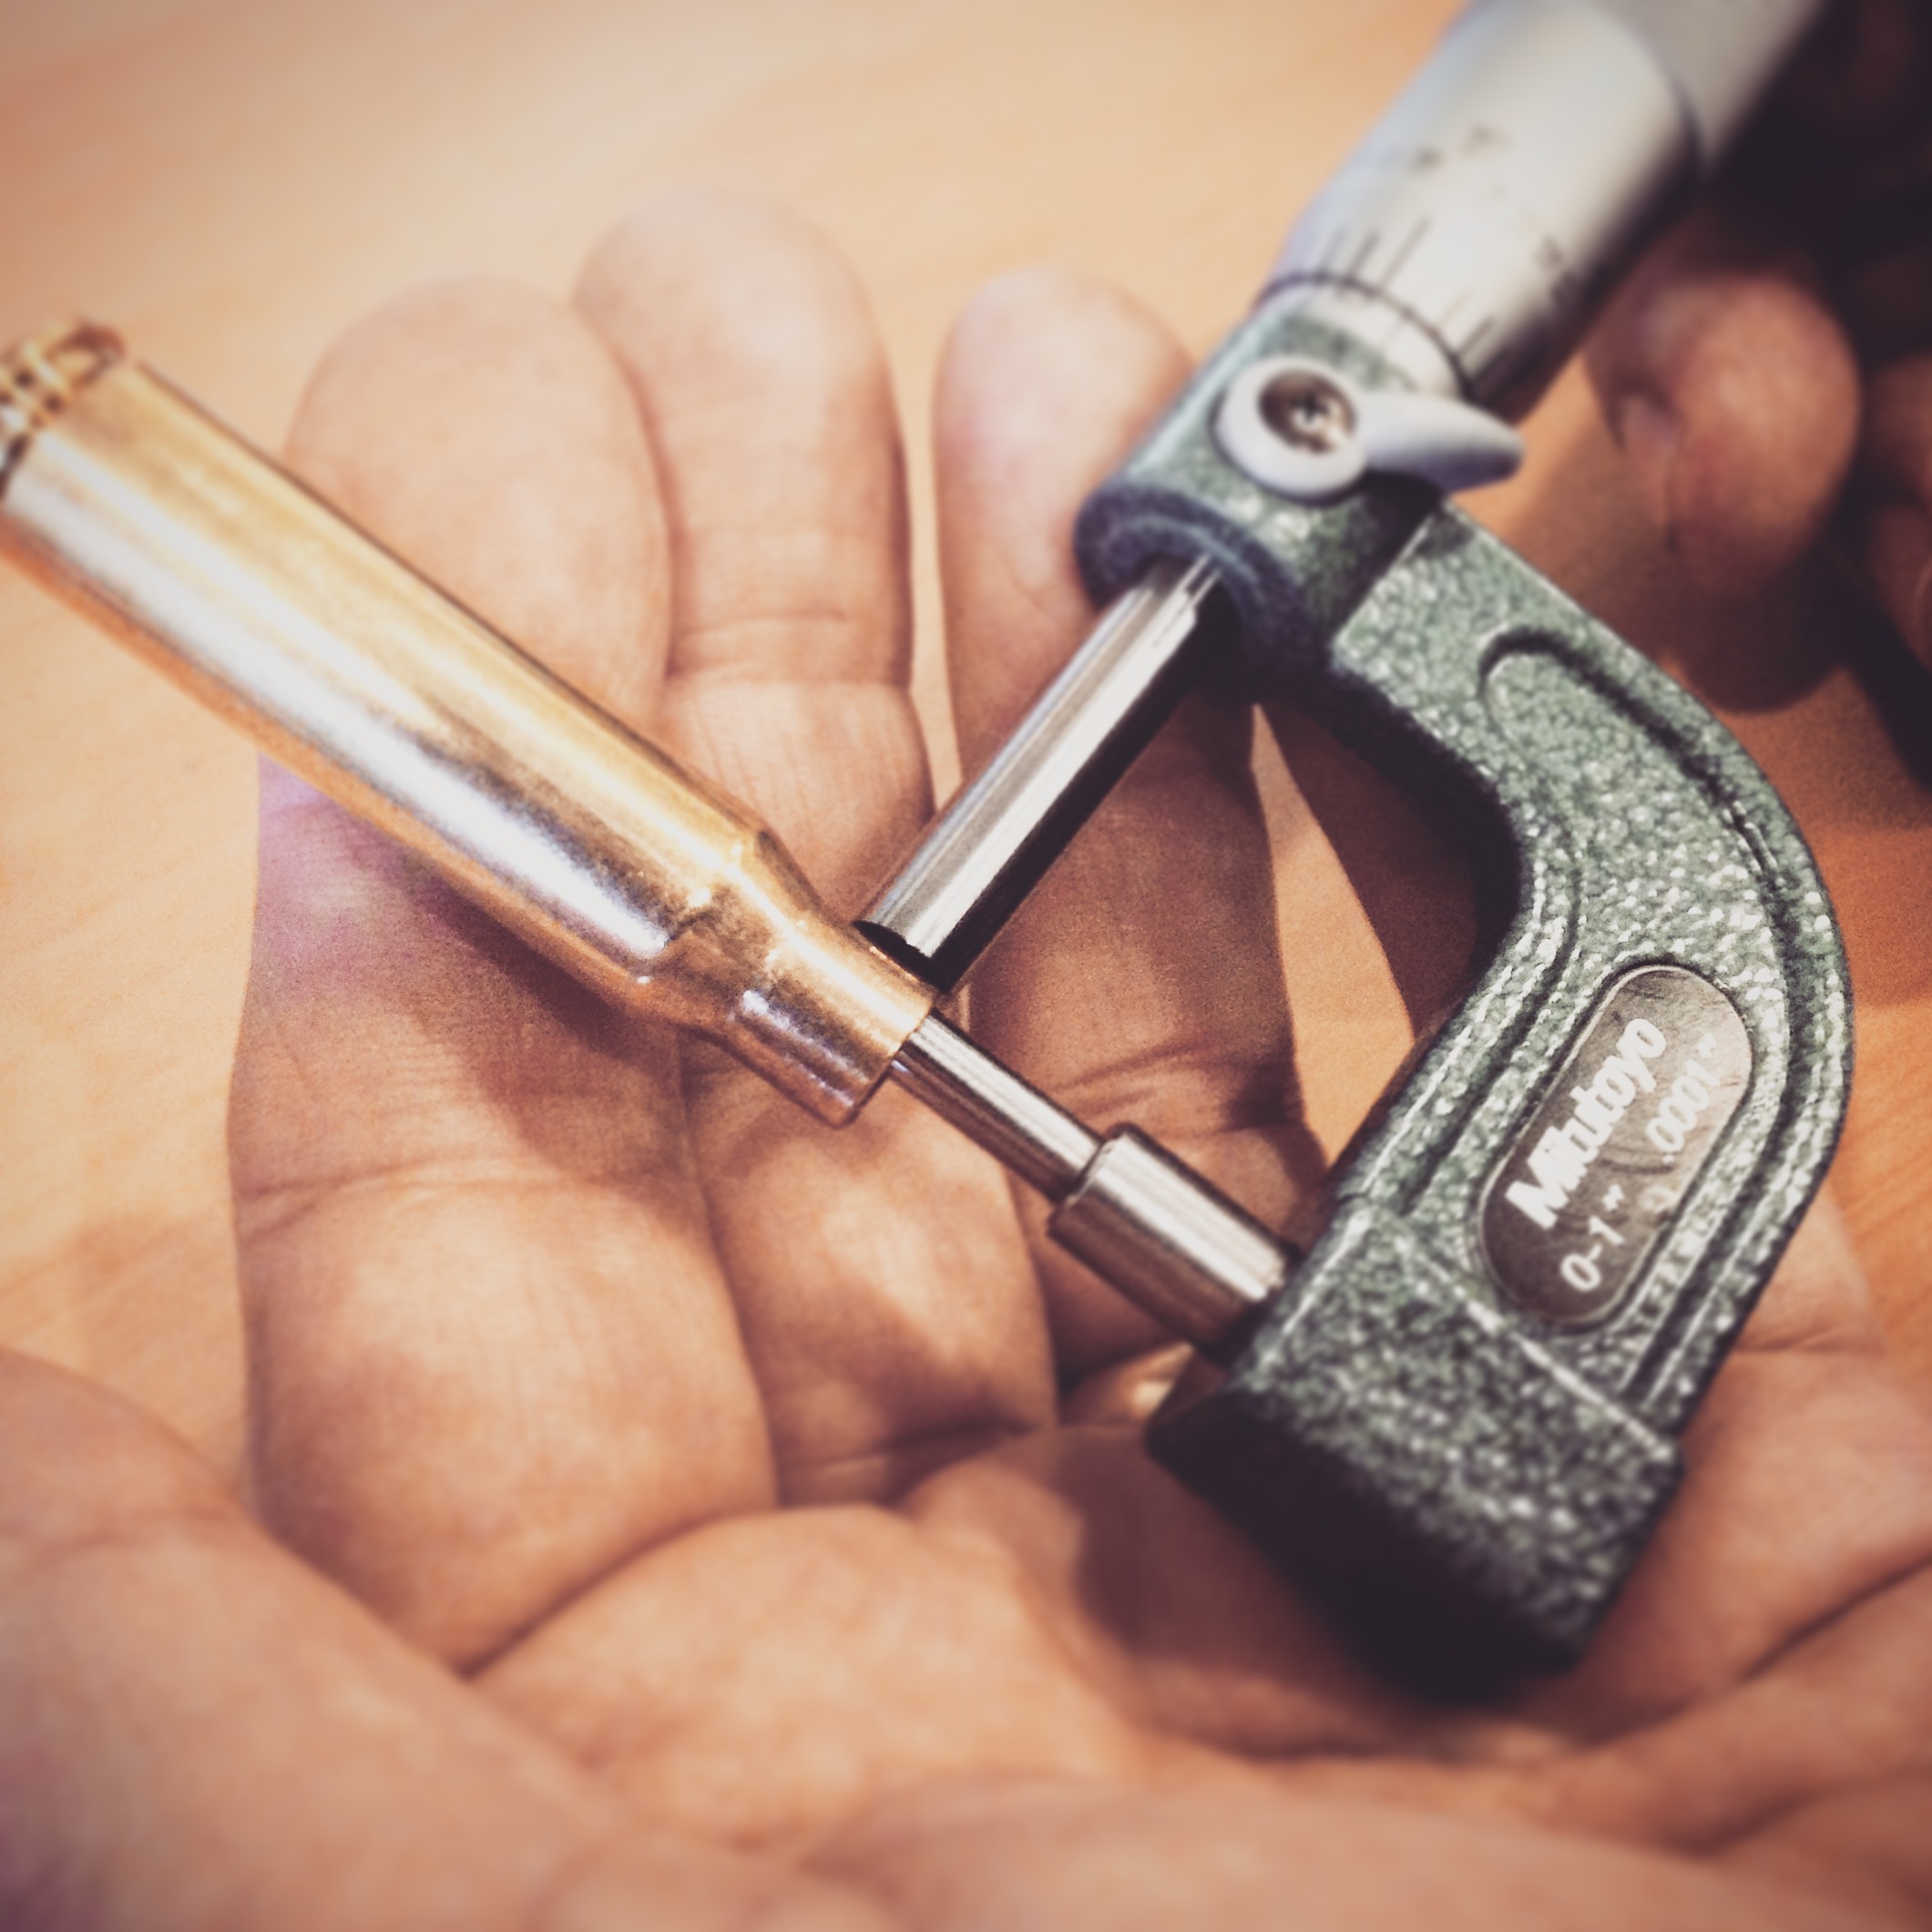
In the picture above
from top to bottom we see:
§
The digital caliper.
For this purpose is the least accurate.
§
The tube
micrometer with the cylindrical type anvil which allows for much greater
accuracy than the calipers.
§
The tube micrometer
with the ball type anvil gives the best accuracy for measuring neck
walls.
Note: calipers generally have a resolution of 0.0005", whereas both
these micrometers have a resolution of 0.0001".
In order to demonstrate the differences
between these measuring devices we measured one piece of Norma .223 brass using
all three types of device. The correct average wall thickness
is 0.0115" ± 0.0002". These were the
readings.
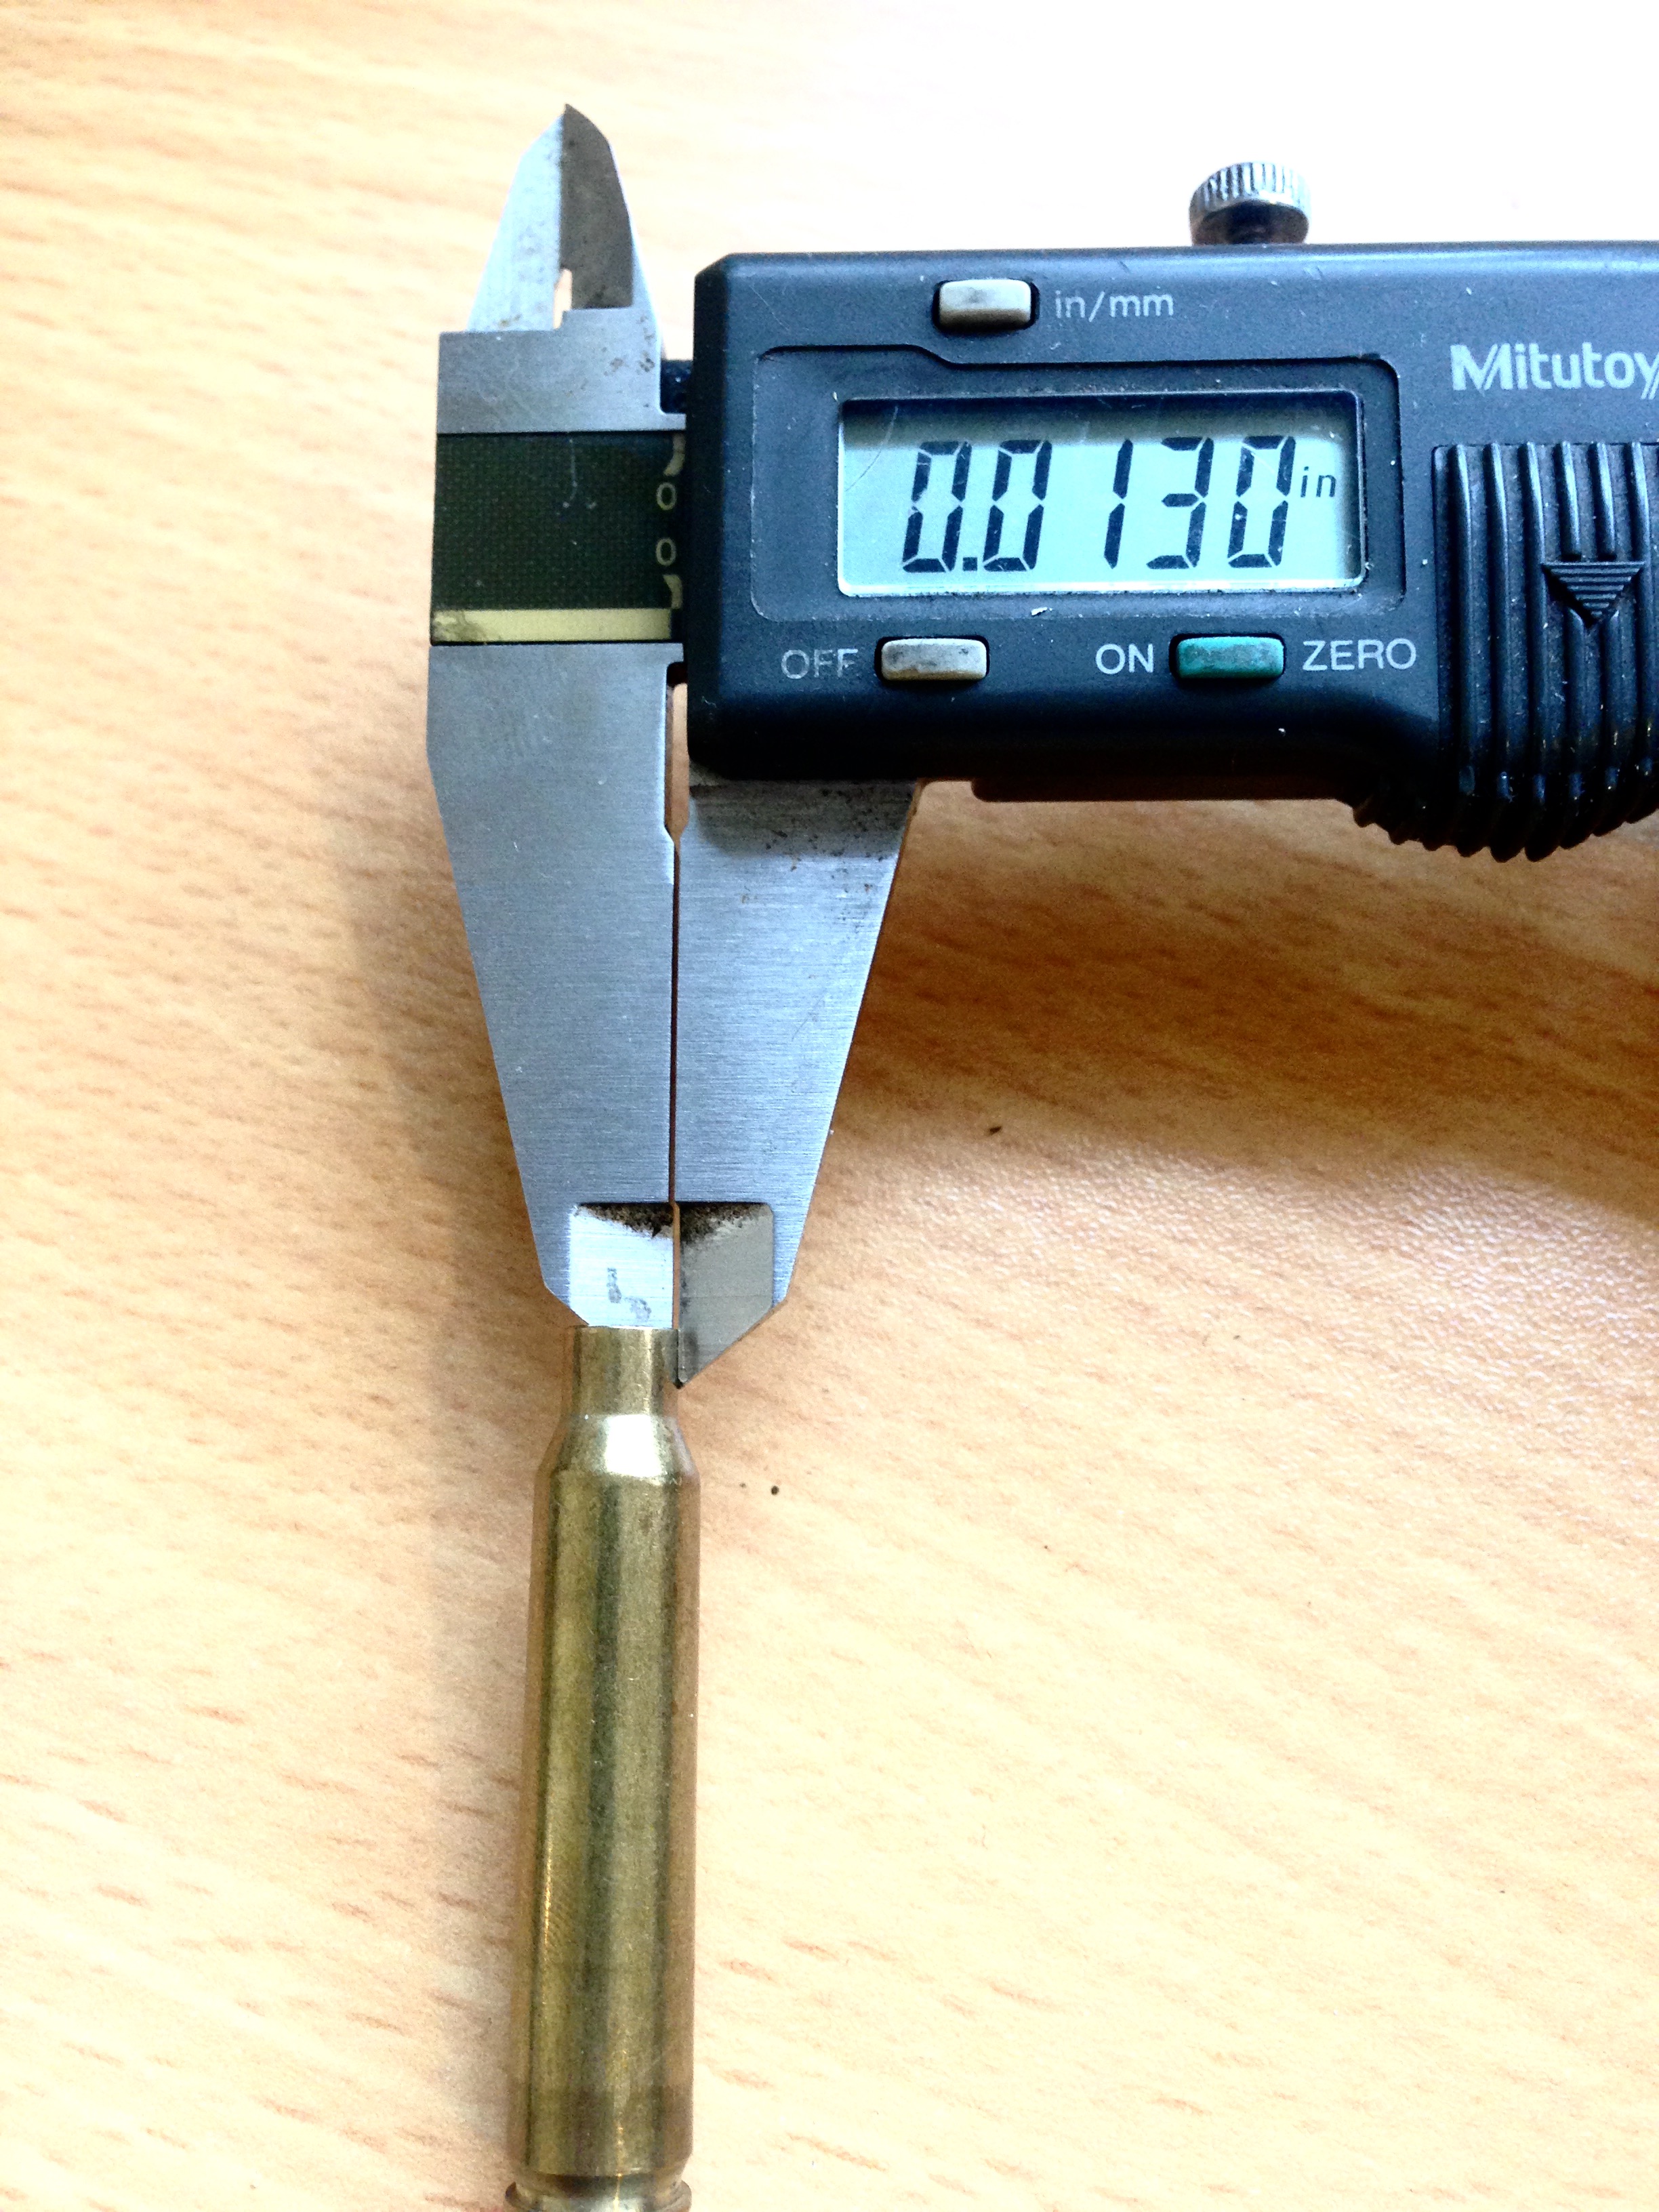
The calipers measured the wall
thickness at 0.013" which is 0.0015" larger than the correct size.
This is due to the calipers having a flat mating face. Because the neck has a
small internal radius, the width of the caliper inside the case neck bridges
across the arc of the circumference. This causes the calipers to over-read by
0.0015". The smaller the diameter the greater the error. Once diameters
approaching 2" are measured this error is diminished.
Next we measured the same cartridge
using the cylindrical anvil tube micrometer.

We see that the measurement has changed
to read slightly below 0.012" (0.0119"). By switching to a tube
micrometer we have eliminated most of the error caused by measuring neck
thickness with a caliper. The added bonus of using a micrometer is the integral
ratchet which ensures a standard amount of force is applied to the anvil. This
prevents over tightening the spindle which can generate an under-read
error.
There is still one drawback. The diameter of the anvil is smaller than
the internal diameter of the cartridge, which allows it to reach the extreme
inside of the case wall, but the anvil is straight. This means
that any variations in the consistency of the wall along the length of
the neck will be included in the measurement. This is especially true
when measuring cases with a crimped neck as the crimp prevents the anvil from
contacting the inside wall completely.
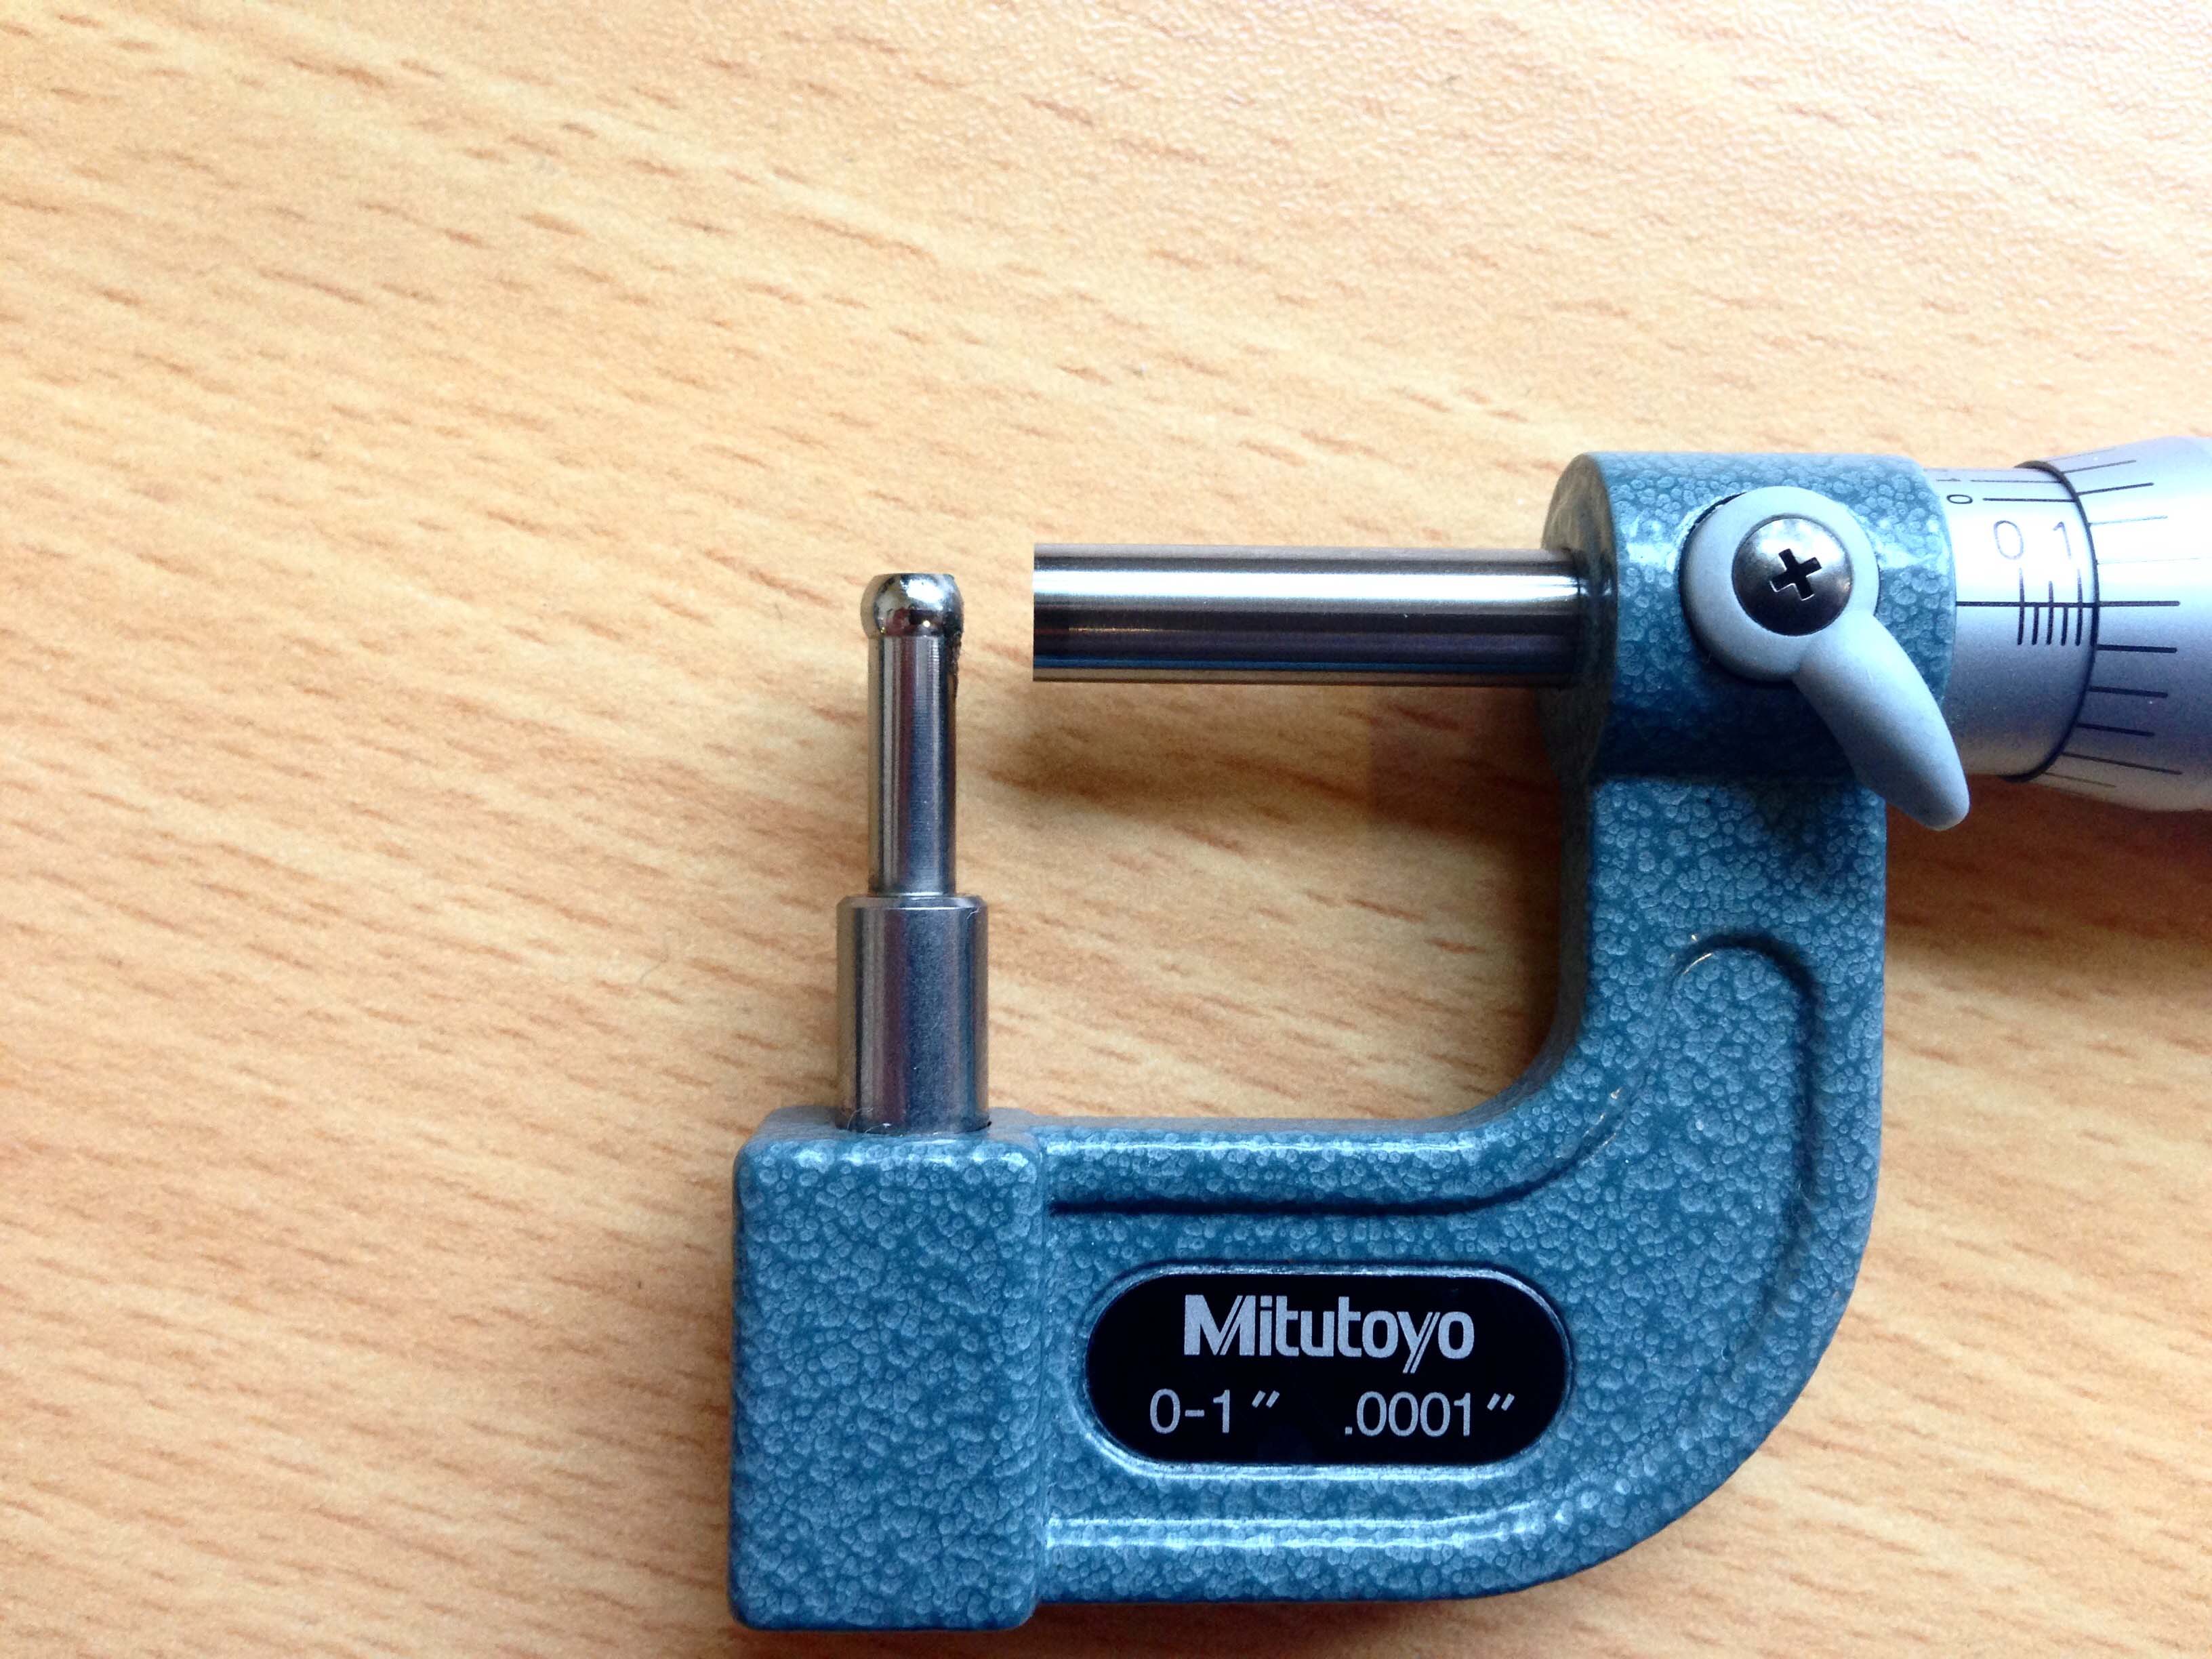
Finally we measured the same cartridge
using a tube micrometer with a ball type anvil.
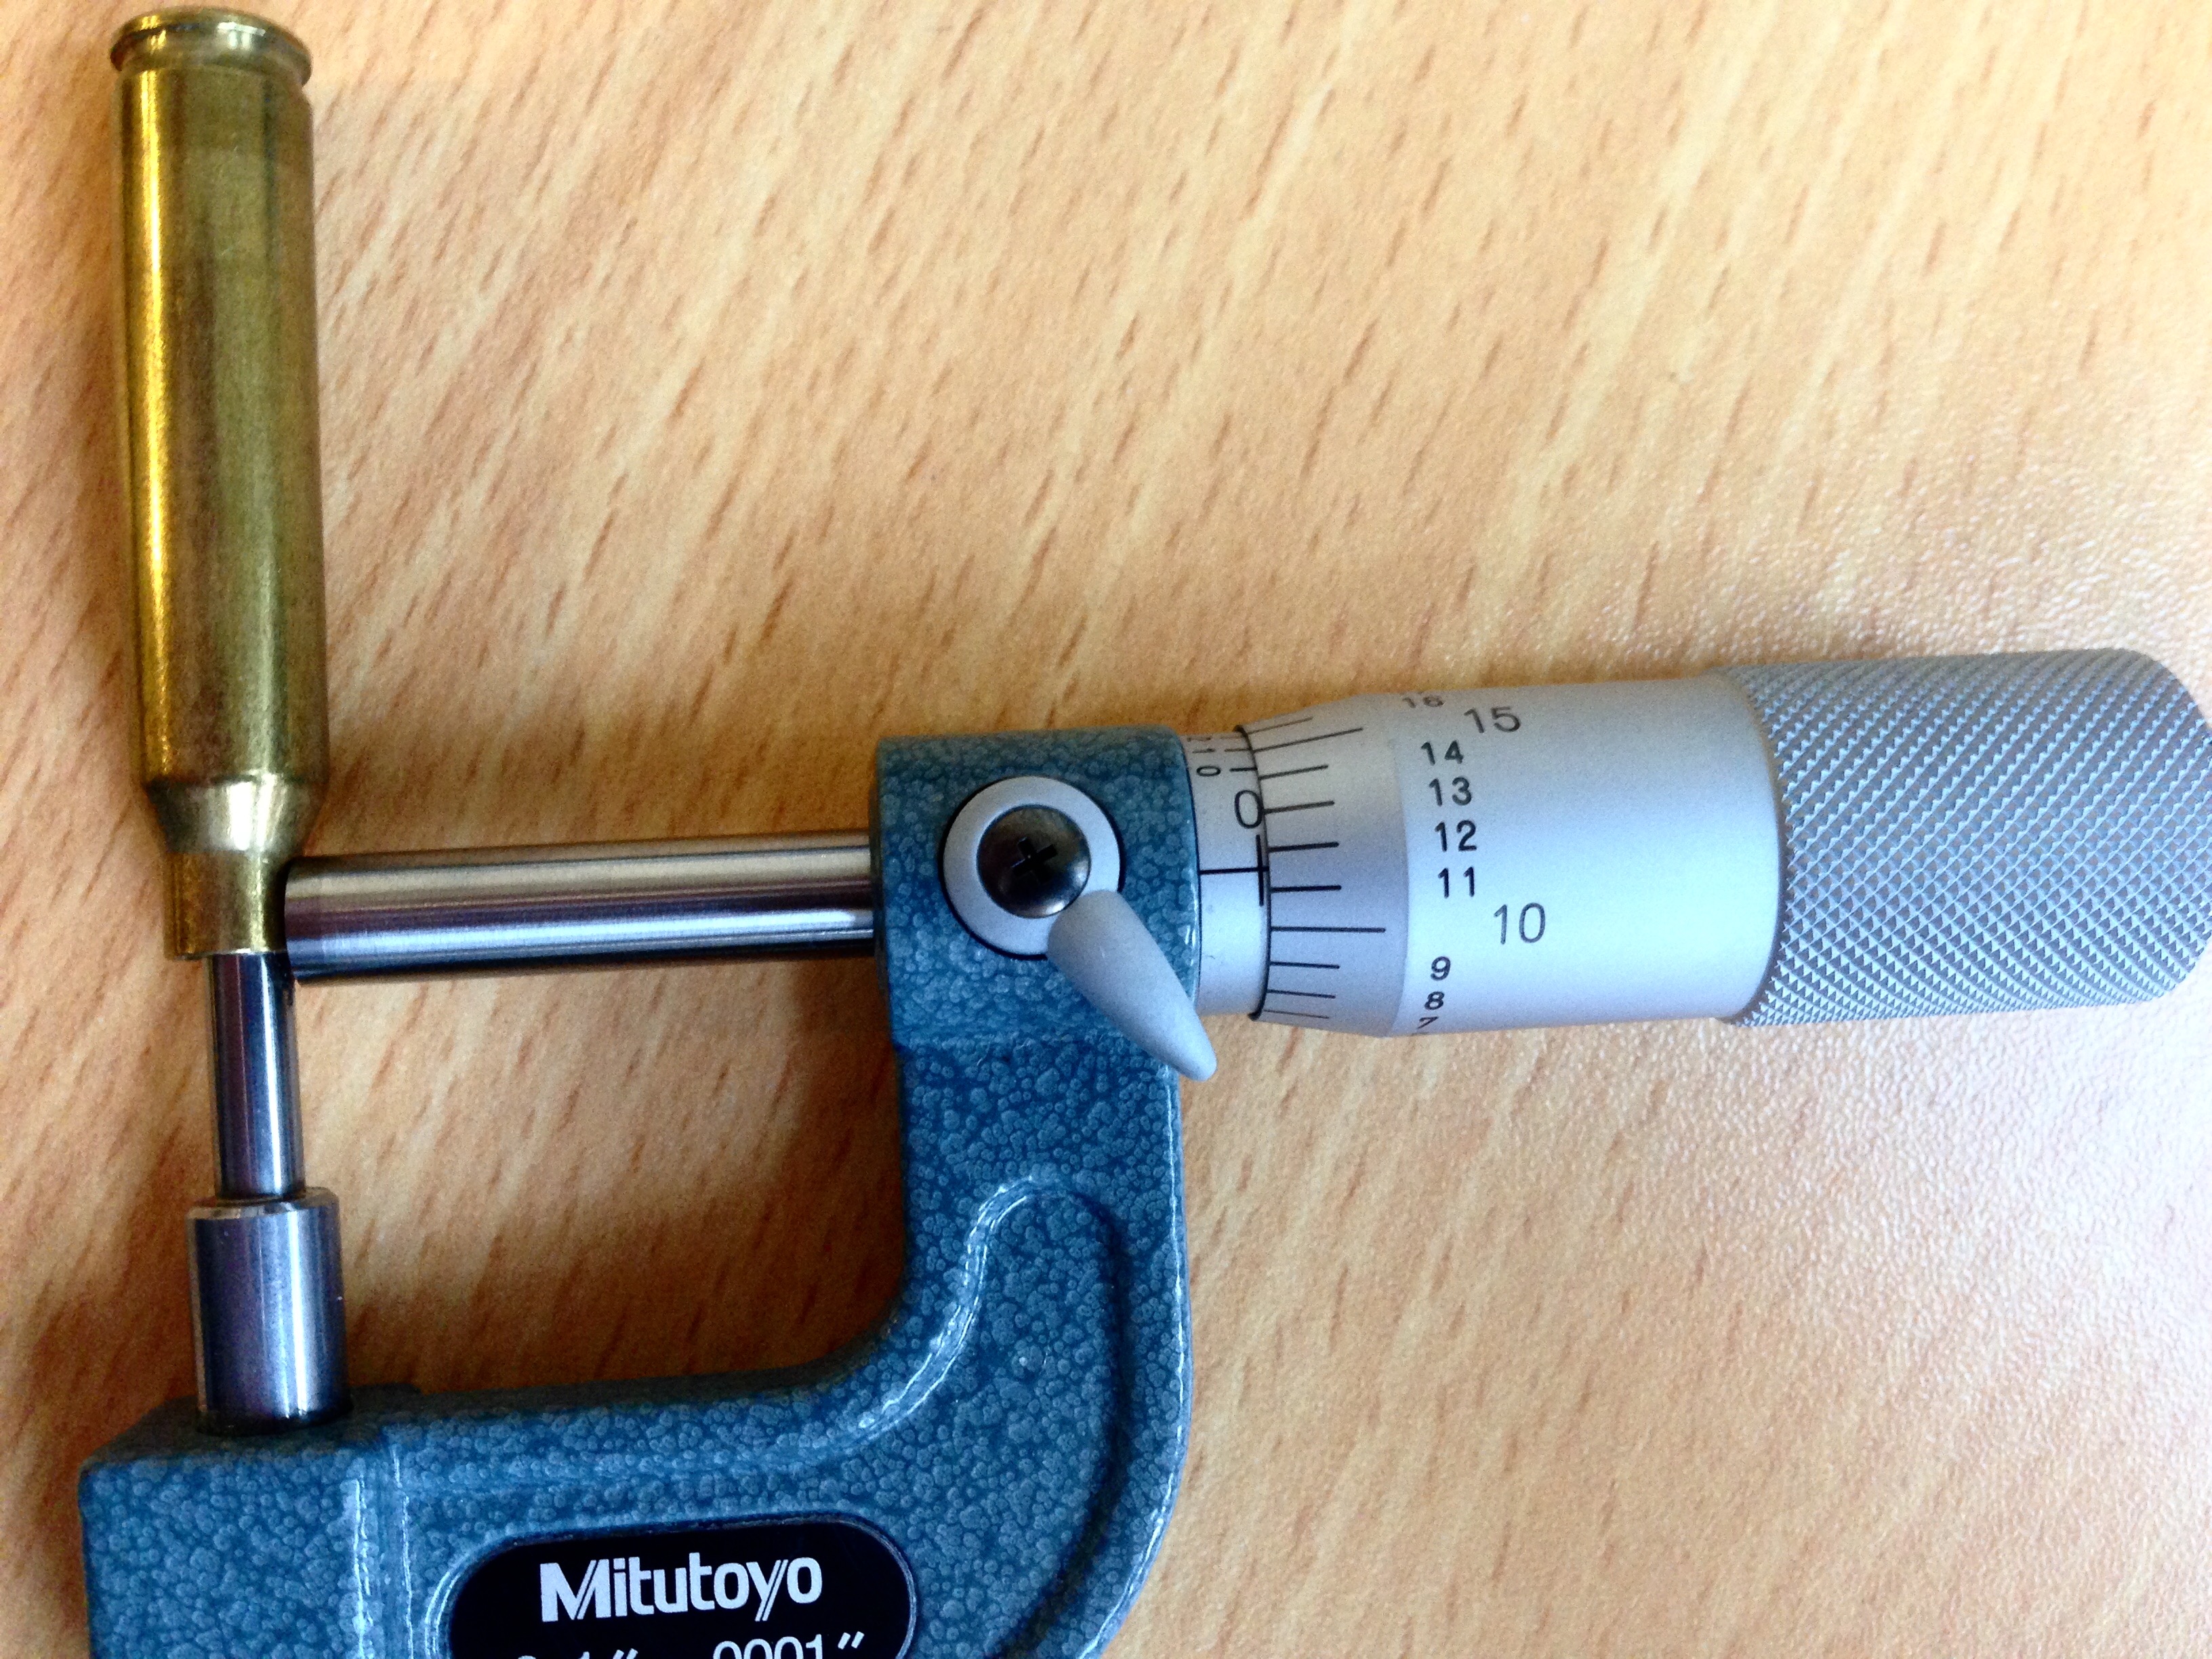
Here we can see that the ball anvil has
allowed the micrometer to measure a further 0.0003" smaller than the
micrometer with the cylindrical type anvil for a final measurement of
0.0116". The ball type anvil has all the advantages of the cylindrical
anvil, with the added benefit of reducing the contact area inside the case
wall to a single point. This allows for the most accurate
measurement of the neck wall thickness of cartridge brass.
It is for these reasons that we strongly recommend the use of a tube micrometer with a ball type anvil. Never use calipers. If we annealed the above Norma .223 cartridge using the measurement generated by the calipers at 0.013", our program setting using the annealer would be six programs different compared to the 0.0116" measurement obtained using the ball anvil. This would be enough to significantly over-anneal the brass.
Note that you should always use the ratchet to turn the micrometer as a smaller and incorrect reading may result otherwise.
Notes on average neck wall thickness:
One measurement is never enough. When we measure unturned customer
brass for calibration, we take at least four readings around the neck of each of
six cases - 24 measurements in all. We may eliminate the occasional
"flier" reading, and then we settle on the most representative
average. That is the measurement we post in the "Standard Program"
column. It is important that our customers follow the same process to determine
which annealing program to use.
Even with very good virgin brass we usually see +/- 0.0002" or so
variation around the necks of each case. A variation of +/- 0.0005" is
pretty common, and we frequently see unturned brass going +/- 0.001" or
worse. That adds up to 0.002" variation, and that can make a significant
impact on the annealing consistency. For hunting brass that mightn't be too
important, but for competition we believe it is.
Turning the necks largely eliminates the issue. Very well turned brass can have
virtually no variation.